The Ultimate Homemade Gluten-Free Eel Sauce – A Rich, Silky Umami Glaze Made from Scratch
Homemade Gluten-Free Eel Sauce Recipe
A Rich, Glossy Japanese-Inspired Sauce Made with Clean Ingredients
Most store-bought eel sauce contains wheat-based soy sauce, which puts it off the table for anyone avoiding gluten. The good news is that eel sauce is one of the simplest condiments you can make at home — just a few ingredients, one saucepan, and about 20 minutes. The result is a glossy, sweet-savory glaze that works on everything from sushi rolls to roasted vegetables.
What Is Eel Sauce?
Despite the name, eel sauce contains no eel. It’s a Japanese glaze traditionally made by reducing soy sauce, mirin, and sugar until thick and syrupy. The reduction process is what gives it character — as the liquid simmers down, the sugars caramelize and the flavors concentrate into something bold, glossy, and deeply savory.
In this recipe, wheat-based soy sauce is replaced with gluten-free alternatives, keeping the flavor profile intact while making it safe for those with celiac disease or gluten sensitivity.
Why Make It at Home?
- No wheat-derived soy sauce or hidden gluten additives
- No preservatives or artificial thickeners
- Full control over sweetness and saltiness
- Takes less than 20 minutes from start to finish
- Tastes noticeably fresher than bottled versions
Ingredients
Base
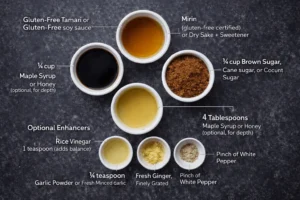
- ½ cup gluten-free tamari or certified gluten-free soy sauce
- ½ cup gluten-free certified mirin (or dry sake with a little added sweetener)
- ¼ cup brown sugar, cane sugar, or coconut sugar
- 2 tablespoons maple syrup or honey (optional, adds depth)
Optional Additions
- 1 teaspoon rice vinegar (balances sweetness)
- ½ teaspoon garlic powder or fresh minced garlic
- ½ teaspoon fresh ginger, finely grated
- Pinch of white pepper
On choosing your soy sauce substitute: Gluten-free tamari gives the most authentic flavor and is the recommended choice. Certified gluten-free soy sauce works equally well. Coconut aminos are a good option but are naturally sweeter and less salty, so you may want to reduce the added sugar slightly when using them.
Instructions
Step 1 — Combine ingredients Add tamari, mirin, sugar, and maple syrup to a small saucepan. Whisk gently to combine before turning on the heat.
Step 2 — Bring to a gentle simmer Place over medium heat and bring to a steady simmer. Avoid a rolling boil — slow, steady heat develops the flavor properly without burning the sugars.
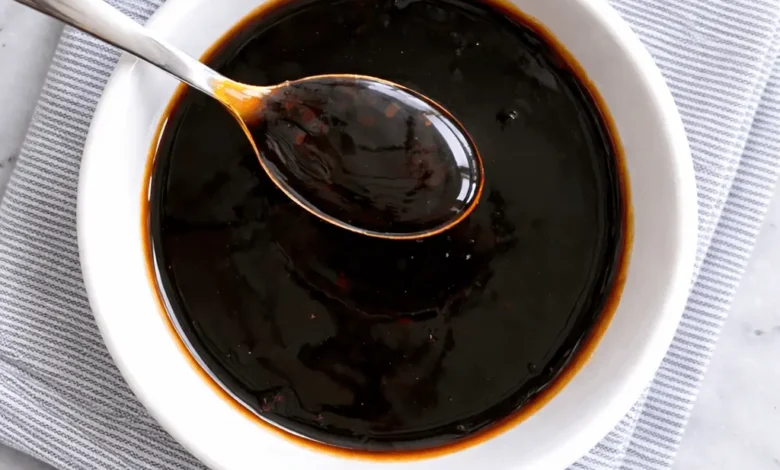
Step 3 — Reduce and thicken Simmer uncovered for 12–18 minutes, stirring occasionally. The sauce will gradually darken, thicken, and take on a glossy appearance as the liquid reduces.
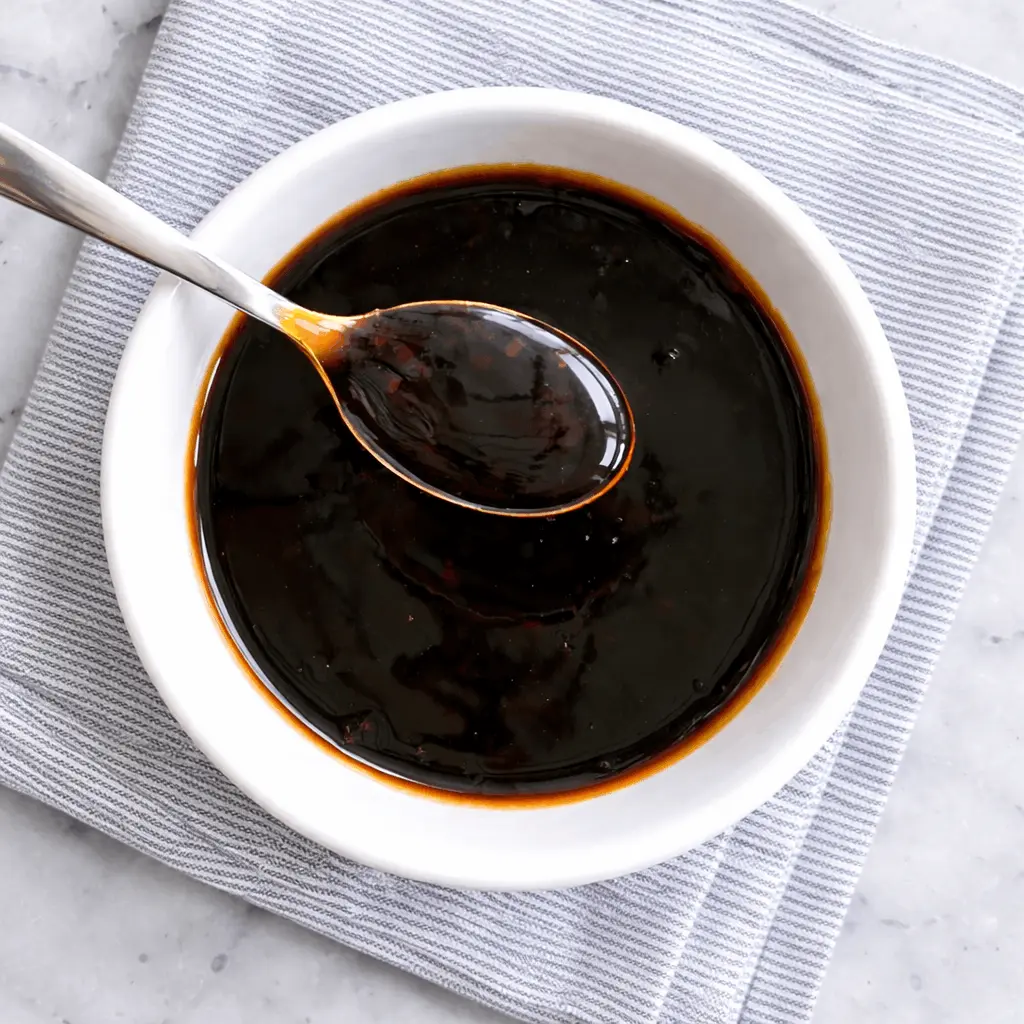
Step 4 — Check consistency The sauce is ready when it coats the back of a spoon and drips slowly rather than running off. Keep in mind it will thicken further as it cools, so pull it off the heat slightly before it reaches your target consistency.
Step 5 — Cool and store Allow to cool for 10 minutes before transferring to a glass jar. It will continue to thicken as it rests.
Consistency Guide
- When hot: Should resemble warm maple syrup
- When cooled: Should reach a honey-like thickness
If it becomes too thick after cooling, add a tablespoon of warm water and stir gently. If it’s too thin, return to low heat and simmer for a few more minutes.
How to Use It
Traditional uses:
- Drizzled over sushi rolls
- Brushed onto grilled eel or fish
- Spooned over rice bowls or donburi
Everyday uses:
- Glaze for roasted vegetables or cauliflower
- Sauce for pan-fried tofu or tempeh
- Finishing drizzle for stir-fries
- Marinade base for chicken or shrimp (dilute slightly with water first)
Variations
- Spicy: Stir in ½ teaspoon chili paste or sriracha
- Garlic-forward: Increase garlic and add a small amount of roasted garlic paste
- Lower sugar: Use coconut aminos and reduce added sugar
- Smoky: Add a small drop of liquid smoke for a grilled depth
Storage
- Store in a sealed glass jar in the refrigerator
- Keeps well for up to 2 weeks
- Reheat gently before use if it thickens too much in the fridge
- Stir or shake if any separation occurs
Freezing is not recommended as it affects the texture.
Nutritional Information (per 1 tablespoon, approximate)
| Nutrient | Amount |
|---|---|
| Calories | 35–45 kcal |
| Carbohydrates | 6–8 g |
| Sugars | 5–7 g |
| Fat | 0 g |
| Protein | <1 g |
| Sodium | Varies by soy sauce used |
✓ Gluten-Free ✓ Dairy-Free ✓ Vegan (with maple syrup) ✓ Nut-Free
Recipe Details
- Cuisine: Japanese-Inspired
- Course: Sauce / Condiment
- Skill Level: Beginner
Frequently Asked Questions
Does eel sauce actually contain eel? No. Traditional eel sauce is made entirely from soy sauce, mirin, and sugar — no eel involved.
Can I make this ahead of time? Yes, and it often tastes better after sitting for a day as the flavors settle. Make it up to a week in advance and store in the fridge.
Can I freeze it? Freezing isn’t recommended. Refrigeration is the best storage method for this sauce.
Can I use it as a marinade? Yes, but dilute it slightly with water or a neutral oil before marinating, as the high sugar content can cause burning during cooking.
What if my sauce crystallizes in the fridge? Reheat gently over low heat and stir until smooth. This is normal with high-sugar sauces.
Homemade Gluten-Free Eel Sauce Recipe
Ingredients
Equipment
Method
- In a small saucepan, add:
- Gluten-free tamari
- Mirin (or sake + sweetener)
- Sugar
- Optional maple syrup
- Whisk gently to combine.
- Place the saucepan over medium heat and bring to a gentle simmer. Do not boil aggressively—slow simmering allows flavors to develop without burning.
- Allow the sauce to simmer uncovered for 12–18 minutes, stirring occasionally. As liquid evaporates, the sauce will darken, thicken, and become glossy.
- The sauce is ready when it:
- Coats the back of a spoon
- Drips slowly rather than running
- Thickens further as it cools
- Remove from heat immediately to prevent over-thickening.
- Let the sauce cool for 10 minutes. It will continue to thicken as it rests.
Notes