Go Back
Eel Sauce

Homemade Gluten-Free Eel Sauce Recipe

A Rich, Glossy Japanese-Inspired Sauce You Can Perfect at HomeThere’s something deeply satisfying about a sauce that clings perfectly to food—thick, glossy, and bursting with umami. Homemade gluten-free eel sauce is exactly that kind of culinary magic. Sweet yet savory, deeply caramelized, and intensely flavorful, it transforms even the simplest dish into something restaurant-worthy.Traditionally brushed over grilled eel in Japanese cuisine, eel sauce—also known as unagi sauce—has earned a devoted following far beyond its original role. It’s now a staple drizzle for sushi rolls, rice bowls, roasted vegetables, tofu, chicken, and seafood.
Servings: 12 Servings
Course: Condiment, Sauces
Cuisine: asian-fusion, Japanese-Inspired
Calories: 40

Ingredients
  

Base Ingredients
  • ½ cup gluten-free tamari or gluten-free soy sauce
  • ½ cup mirin gluten-free certified or dry sake + sweetener
  • ¼ cup brown sugar cane sugar, or coconut sugar
  • 2 tablespoons maple syrup or honey optional, for depth
Optional Enhancers
  • 1 teaspoon rice vinegar adds balance
  • ½ teaspoon garlic powder or fresh minced garlic
  • ½ teaspoon fresh ginger finely grated
  • Pinch of white pepper

Equipment

  • Small saucepan – for simmering and reducing the sauce
  • Measuring cups – for liquid ingredients
  • Measuring spoons – for sweeteners and optional enhancers
  • Whisk or heat-safe spoon – for stirring during reduction
  • Fine-mesh strainer (optional) – for extra-smooth texture
  • Heat-resistant spatula – to scrape sides while reducing
  • Glass jar or airtight container – for storing the sauce
  • Stovetop – low to medium heat recommended

Method
 

Step 1: Combine Ingredients
  1. In a small saucepan, add:
  2. Gluten-free tamari
  3. Mirin (or sake + sweetener)
  4. Sugar
  5. Optional maple syrup
  6. Whisk gently to combine.
Step 2: Simmer Slowly
  1. Place the saucepan over medium heat and bring to a gentle simmer. Do not boil aggressively—slow simmering allows flavors to develop without burning.
Step 3: Reduce and Thicken
  1. Allow the sauce to simmer uncovered for 12–18 minutes, stirring occasionally. As liquid evaporates, the sauce will darken, thicken, and become glossy.
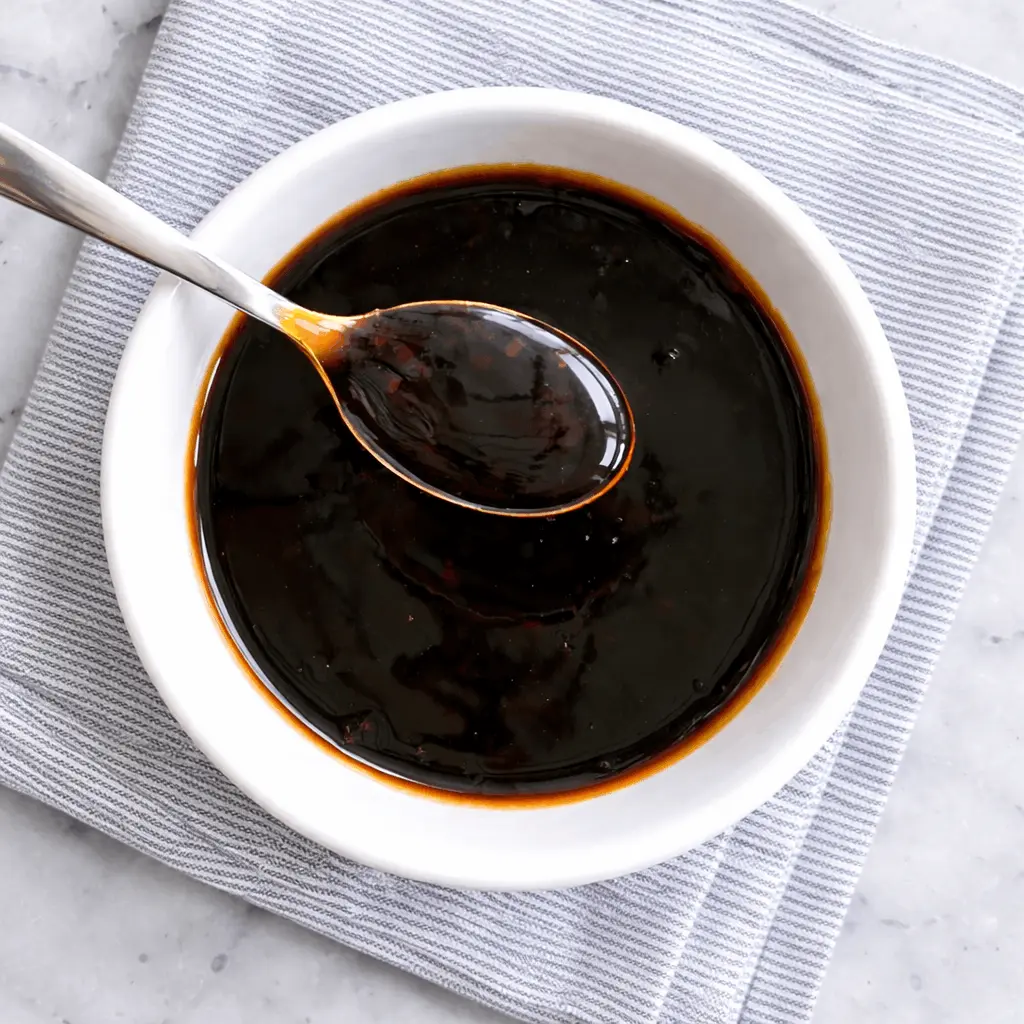
Step 4: Test Consistency
  1. The sauce is ready when it:
  2. Coats the back of a spoon
  3. Drips slowly rather than running
  4. Thickens further as it cools
  5. Remove from heat immediately to prevent over-thickening.
Step 5: Cool and Store
  1. Let the sauce cool for 10 minutes. It will continue to thicken as it rests.

Notes

Nutritional Facts (Approximate)
Per 1 tablespoon serving
Calories: 35–45 kcal
Carbohydrates: 6–8 g
Sugars: 5–7 g
Fat: 0 g
Protein: <1 g
Sodium: varies by soy sauce used