Chocolate Covered Pretzels Recipe – Amongst Top 10 Irresistible Wheatless & Gluten Free Recipes
Chocolate Covered Pretzels: Irresistible Sweet-Salty Symphony
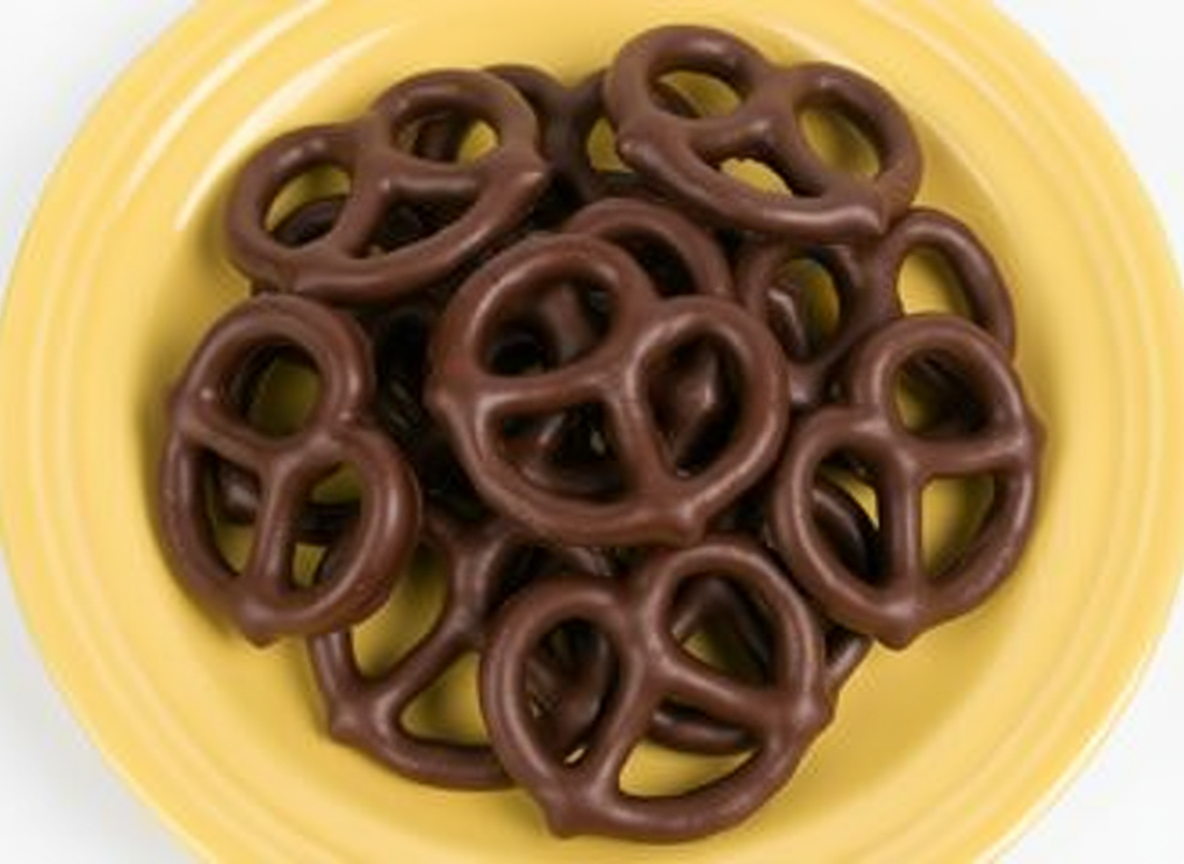
Chocolate covered pretzels are one of the simplest homemade confections — dip gluten-free pretzels in melted chocolate, add toppings while the chocolate is still wet, and leave to set. The whole process takes about 35 minutes. They make good gifts and keep well for up to a week.
Use certified gluten-free pretzels — regular pretzels contain wheat. Double-check your chocolate too, as some brands share equipment with gluten-containing products.
Ingredients
- 200g gluten-free pretzels (rods, twists, or minis)
- 200g gluten-free dark or milk chocolate, chopped (or chips)
- 50g white chocolate for drizzling (optional)
- 2 tablespoons chopped almonds, pecans, or other nuts (optional)
- 1 tablespoon colorful sprinkles — check these are gluten-free (optional)
- Flaky sea salt for finishing (optional)
Equipment
- Heatproof bowl
- Small saucepan (for double boiler)
- Parchment-lined baking tray
- Fork or skewer for dipping
- Piping bag or spoon for drizzling
Instructions
Step 1 — Prep your workspace Line a baking tray with parchment paper and set it nearby. Have your toppings measured and ready — you’ll need to add them quickly while the chocolate is still wet.
Step 2 — Melt the chocolate Set up a double boiler: fill a small saucepan with an inch of water and bring to a gentle simmer. Place the chopped chocolate in a heatproof bowl on top, making sure the bottom of the bowl doesn’t touch the water. Stir gently until completely melted and smooth. Alternatively, microwave in 20-second bursts, stirring between each, until melted. Keep the heat low — overheated chocolate can seize or become grainy.
If the chocolate feels too thick to dip easily, stir in ½ teaspoon of neutral oil (coconut or vegetable) to thin it slightly.
Step 3 — Dip the pretzels Using a fork or skewer, lower each pretzel into the melted chocolate. For a full coat, submerge completely and lift out; for a half-dip, dip only the bottom portion. Let the excess chocolate drip off by gently tapping the fork against the side of the bowl, then lay the pretzel on the parchment. Work in small batches of 5–6 at a time so the chocolate on the first pretzels is still wet when you add toppings.
Step 4 — Add toppings While each pretzel’s chocolate coating is still wet, scatter on any toppings — chopped nuts, sprinkles, or flaky sea salt. Press lightly so they adhere.
Step 5 — Drizzle (optional) Melt the white chocolate the same way. Transfer to a piping bag or use a spoon to drizzle thin lines over the dipped pretzels for a decorative finish.
Step 6 — Set Leave at room temperature for 30 minutes, or refrigerate for 15–20 minutes, until the chocolate is fully firm. Avoid setting them in a humid environment — moisture prevents the chocolate from setting properly and causes the surface to stay tacky.
Tips
- Keep all utensils and bowls completely dry — even a small amount of water can cause melted chocolate to seize into a grainy, stiff mass
- Add toppings immediately after dipping — the window before the chocolate starts to set is short, especially in a cool kitchen
- If the chocolate starts to thicken and harden in the bowl while you’re working, briefly reheat it over the saucepan or in short microwave bursts
- Slightly stale pretzels work better than very fresh ones — fresh pretzels can soften faster under the chocolate coating
Variations
- Peppermint: Use finely crushed candy canes as a topping — works especially well with dark chocolate
- Caramel: Dip pretzels in softened caramel before the chocolate layer for a triple-layer effect
- Toffee: Sprinkle crushed toffee pieces over the wet chocolate
- Coconut: Use shredded unsweetened coconut as a topping
- Holiday colors: Use colored candy melts instead of chocolate — red, green, or orange depending on the occasion
- Peanut butter: Dip pretzels first in melted peanut butter chips, let set briefly, then dip in chocolate
Storage
- Room temperature: up to 3 days in an airtight container, with parchment between layers
- Refrigerator: up to 1 week — bring to room temperature before serving as cold chocolate can look dull and condensation can form
- Freezer: up to 1 month — store in an airtight container with parchment between layers and thaw at room temperature
Nutritional Information (per serving, approximate — serves about 8)
| Nutrient | Amount |
|---|---|
| Calories | ~150 kcal |
| Fat | ~8 g |
| Carbohydrates | ~18 g |
| Sugar | ~10 g |
| Protein | ~2 g |
✓ Gluten-Free ✓ Wheat-Free ✓ Dairy-Free Option Available ✓ Vegan Option Available
Recipe Details
- Cuisine: American
- Course: Candy / Snack / Gift
- Skill Level: Beginner
Frequently Asked Questions
Why did my chocolate seize up? Water contact is almost always the cause. Make sure every utensil, bowl, and surface is completely dry before starting. If using a double boiler, keep the simmer gentle so steam doesn’t rise into the bowl. Seized chocolate can sometimes be rescued by stirring in a teaspoon of warm neutral oil.
Why are my toppings falling off? They were added after the chocolate started to set. Add toppings immediately after dipping each pretzel while the chocolate is still fully wet — it sets faster than you might expect, especially in a cold kitchen.
Why does my chocolate look dull or have white streaks? White streaks or a dull, chalky appearance is called bloom — it happens when chocolate is cooled too quickly, stored somewhere too warm, or exposed to temperature fluctuations. It doesn’t affect the flavor. For a shinier finish, temper the chocolate before dipping — this requires careful temperature management but gives professional-looking results.
Can I use candy melts instead of real chocolate? Yes — candy melts are easier to work with (they’re more forgiving and set quickly) and come in many colors. The flavor is less complex than real chocolate, but for decorative purposes they work very well. Check that any candy melts you use are certified gluten-free.
How far ahead can I make these? Up to a week if refrigerated, or up to 3 days at room temperature. They make good gifts when packaged in a jar or cellophane bag a day or two ahead.
Chocolate Covered Pretzels Recipe
Ingredients
Equipment
Method
- Line a baking tray with parchment paper.
- Melt the dark chocolate in a double boiler over simmering water until smooth.
- Dip each gluten-free pretzel into the melted chocolate, fully coating or partially dipping as preferred. Use a fork or skewer for easy handling.
- Place the chocolate-covered pretzels onto the parchment-lined baking tray.
- If desired, sprinkle chopped nuts or sprinkles over the chocolate while still wet.
- Melt the white chocolate and drizzle over the pretzels for a decorative touch (optional).
- Let pretzels set at room temperature or place in the refrigerator for 15-20 minutes to speed up hardening.
- Store in an airtight container; best enjoyed within 3 days for maximum freshness.
Notes